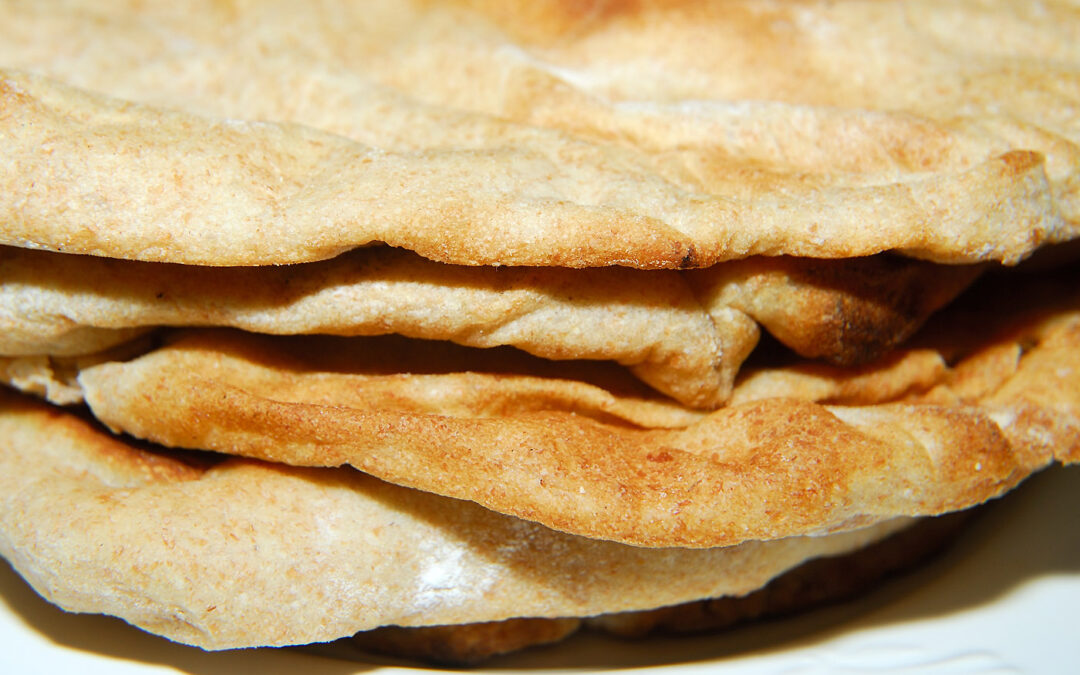
Pita is a Middle Eastern flat bread that is not only easy to make, but also versatile. Truly fresh pita though can be difficult to find, as pita bread is never as good as when it first comes fresh from the oven. Most pita bread sold in local markets, unless it is baked fresh on the premises, is likely to be a very poor imitation of what can be baked at home.

Fresh homemade pita bread
We often don’t think to keep pita on hand, but quite honestly, there’s no reason not to. If you can make a pizza dough, pita bread is really no more technically challenging. It takes roughly the same amount of time from start to finish as a pizza dough, and uses only a few staple ingredients.
Yield: 12 Large Pitas
Time: 15 Minutes Active Time; 2 Hour 20 Minutes Inactive Time
Equipment:
Stand Mixer (Optional, can be mixed by hand)
Kitchen Scale
Rolling Pin
2 Clean Kitchen Towels
Pizza Stone
Ingredients:
2 Cups Water
1 tsp Pure Honey
1/2 oz Active Dry Yeast
14 oz Whole Wheat Flour
14 oz Unbleached All Purpose Flour
2 tsp Kosher Salt
1/3 Cup Extra Virgin Olive Oil, plus 2 Tbsp
Sea Salt (Optional)
Preheat grill (or oven) with the pizza stone to 500F
Activate The Yeast
Take 1 cup (8 fl oz) of warm water, between 90-100 F, and stir in the honey, and dry yeast. Set aside until the yeast has activated, and a foam has formed on the surface.

If bubbles do not form on the surface within 8-10 minutes, prepare a new batch of yeast, honey, and water
Prepare The Dough
In the bowl of the stand mixer add the salt, whole wheat, and all purpose flour, and briefly stir.

To prevent the pita from being too dense, this recipe uses half whole wheat, and half all-purpose flour
Make a well in the center of the flour, and add the remaining cup of water, oil, and the yeast mixture.
Mix on low speed for 4-5 minutes, or until the dough begins to gather around the hook. If the dough is wet, add just a little extra all purpose flour.

The dough will appear wet at first. Once all the flour is incorporated, the dough should start to gather around the hook.
Using well-floured hands, gather the dough into a ball, and lightly coat the dough with the remaining oil.

The finished dough should be tacky, but not sticky
Cover the bowl with a damp towel, or plastic wrap, and set the bowl aside for an hour at room temperature, until the dough as doubled in size.
Gently deflate the dough with your hand, re-cover the bowl, and rest the dough for an additional 20 minutes.

Gently degass the dough with your finger tips
Shape The Dough
Turn the dough out onto a lightly floured work surface, and divide the dough into 12 even pieces. I recommend weighing the dough when you turn it out, and dividing that weight by 12 to establish a target size for each of the pieces. If your dough weighs 3 lbs (48 oz), dividing by 12, each dough ball should be approximately 4 ounces. Cutting the dough with a sharp serrated bread knife is efficient, and won’t excessively degas the dough.

Roughly divide the dough into equal pieces to ensure even baking
Shape each piece into a ball, and on an area of the work surface that is unfloured, cup your hand over the ball, and quickly rotate your hand in a circular motion to shape into a tight ball.

Shape the dough on an unfloured surface
Set the dough to one side, under a damp kitchen towel.
When each ball has been shaped, on a floured section of the counter, roll out each ball, turning a quarter turn after each pass to maintain the circular shape, until the dough measures approximately 7-8 inches in diameter, and is approximately 1/8 inch thick.

Roll out each piece of dough on a floured surface
Set each round aside on a lightly floured surface, or baking sheet, and cover with a damp towel to prevent the dough from drying out.

Set the dough circles aside to proof for an hour before baking. Note, the dough will be easier to handle if it doesn’t overlap during proofing
Allow the dough rest again for 50-60 minutes before baking.
Baking The Pita
Although a pizza stone is not essential, the pitas will bake better on a hot stone, and are more likely to puff, creating a pocket, than if baked on a sheet pan.
Preheat the grill (or oven) to 500F, allowing a few extra minutes for the pizza stone (if using) to come up to temp once the oven is preheated.

Preheat the grill, but allow enough time for the pizza stone to come up to temperature
Just before baking, sprinkle the dough rounds lightly with salt (Kosher or Sea Salt works best). Once the pizza stone is hot, transfer the dough to the stone quickly, but carefully, as excessive handling will prevent the dough from puffing and forming a pocket. Be careful not to overlap the dough circles on the stone. Bake, with the grill door closed, for 5-6 minutes, turning the dough over once part way through cooking, after the dough has puffed, to ensure even browning.

A perfectly puffed pita!
As each batch is baked, stack the pitas, wrapped in a clean kitchen towel, to keep them warm.

Stack the pitas as they come off the grill, and wrap in a clean towel to keep them warm
Serve the pitas warm, filled with your favorite sandwich filling, dip, or spread. For a breakfast sandwich try filling pita bread with scrambled farm-fresh eggs and arugula. Fill a pocket with Greek salad for lunch, or top with fresh pesto, tomatoes, and fresh mozzarella, to turn a few in to individual pita pizzas for dinner. The possibilities are only limited by your imagination.
Homemade Pita Chips
A good way to use up extra pita bread, is to make your own pita chips. Once the pita is cool brush each round, on both sides, lightly with olive oil. Slice each pita into 8-12 wedges, and arrange the wedges in a single layer on an ungreased baking sheet. Lightly sprinkle the wedges with sea salt, and bake in a 350F oven for approximately 15 minutes, until the pita is crisp and lightly browned.
Fresh-baked pita bread will store, tightly wrapped, for 2-3 days, or may be frozen for up to 6 months.
These particular pitas were served this weekend with our fresh homemade Baba Ghannouj (Mediterranean eggplant dip), using some of our farm fresh, and somewhat overabundant, heirloom eggplants.

When life gifts you eggplants, you make Baba Ghannouj!
Definitely my favorite way to eat eggplant. I promise I’ll share that recipe soon!
Enjoy!


This looks SO good will have to try it soon!!
If you try it, let us know how it turns out for you!
Oh I love fresh breads but never had the patience myself to make them…that was my sister’s specialty…but you have one of my fav dips and I will have to try some from my own eggplant…can’t wait for the recipe
I promise I’ll post the Baba Ghannouj recipe early next week!
Making pita always makes me smile because the puffing seems like a little culinary miracle. Yay!
I’m always amazed how quickly they puff. Every once a while one doesn’t puff, nor not very much, but they still taste great, and make a great wrap bread!
and now I’m drooling over my keyboard. You certainly know your way around a kitchen (among your many other talents!)
I’m motivated by my love of good, fresh food. It also helps that my grandparents had a bakery when I was a child. I definitely grew up with a carb-tooth 😛
Oh WOW!!! This is great!! My hubby & I are trying out all kinds of breads – from baked farm bread to wraps. Our next is pasta!! THis will definitely be on our list to do!! Thank you 🙂
Careful, once you make fresh pasta, it’s impossible to go back! I’m making fresh ricotta this weekend, so we can stock up ravioli again. This time maybe just a simple spinach and ricotta, although I can’t wait until fall so I can make butternut squash ravioli again!
I love home made pizza, and you are right, it is light years better than anything you can buy ready made. I’ve taken to cooking mine one at a time in a dry frying pan, which seems to work well, a bit like tortillas I suppose. I also rather like adding a little garlic to the dough, or some seeds, but not necessary. Will look out for your eggplant recipe as I hope to grow some next year.
We make a lot of fresh pizzas this time of year. We have tomatoes, eggplants, tons of kale. There’s always something pizza-worthy in the garden. The nice thing about pita, if we keep some frozen, is we have an instant pizza crust ready to go for those hectic gardening days!
You have inspired me again: yesterday with zucchini fritters from last year (we love them) and now pita. We love pita and especially since it seems like less volume than slices. So now I will have to give it a go. Clare, I think I will try some with spelt too.. seems I’ve developed somewhat of an intolerance to some flours of late. 😛
I haven’t made any zucchini fritters yet this year, but I’m making fresh ricotta this weekend, and have a LOT of zucchini that needs to be used, so I suspect we have fritters on the horizon! 😉 Let me know how it goes with the spelt flour in the pitas, I haven’t tried baking with spelt flour yet, although I keep thinking about trying it!
Thank you for this wonderful recipe, and, of course, the pictures, which I always need to get something!
You’re welcome Nancy! I’m very much a visually oriented person. I can read about something half a dozen a times, but show me a picture, and I’ll probably get it on the first try!