Vanilla ice cream may sound blah and boring to some, but it is the most versatile of all the ice cream flavors.
Homemade vanilla ice cream is never dull
Even though summer is officially over, apple pie season is in full swing. As there is no à la mode without ice cream, stashing a few pints of a sinfully rich ice cream in the freezer now will guarantee that no pie, or tart, arrives at the table under-dressed this fall.
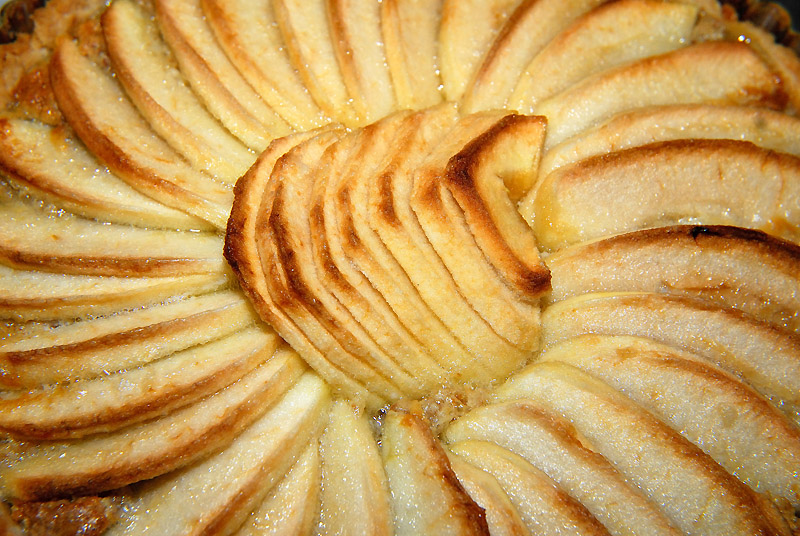
This farm-fresh heirloom apple tart is screaming to be served with a luscious, premium quality, vanilla ice cream, don’t you think?
As we have chickens, we have no shortage of eggs, so of course my preference is for making French custard-based ice creams.
Note that this is not a low fat, low calorie, diet frozen dessert. Most low-fat ice cream products make up in sugar what they lack in fat, and are frequently laden with various gums to compensate texturally for the missing fats. In my opinion they barely qualify as ice cream at all. Without cream, it’s false advertising in my book. This is ice cream as it was originally intended, in all of its artery-hardening decadent glory. Made with pure natural ingredients, with no artificial flavors, it’s well worth the indulgence, but please, consume responsibly.
Note that quality homemade ice cream is the epitome of slow food, and must not be rushed. Cutting corners while making or heating the custard, or during the chilling phase, will result in a grainy less-desirable finished product.
If you were to purchase a high quality, premium, custard-based ice cream, it would likely cost a small fortune for a mere pint. This recipe will make 4 pints for what it would it would cost to purchase a single pint of high quality ice cream at your local market, but it will taste better than most. It does require some forethought and preparation, but once you make your own ice cream, you will never want to go back to store-bought.
Yield: 8 Cups (4 Pints)
Ingredients:
2 1/2 Cups Half-and-Half
8 Large Egg Yolks
1 Cup Vanilla Sugar*
1 Whole Vanilla Bean
2 1/2 Cups Whipping Cream
1/8 Tsp Salt
2 Cups Fresh Strawberries, or Raspberries (optional)
Before proceeding, freeze the ice cream churn bowl according to your manufacturer’s directions. If using the Kitchenaid freeze bowl, freeze for at least 15 hours prior to churning. Better yet, just store the bowl in the freezer, then you’re always ready to make ice cream!
For the Custard:
Split the vanilla bean lengthwise, and scrape the seeds into a medium heavy-bottomed sauce pan, and add the scraped pods (they’ll be strained out later).

Use a sharp knife, at an angle, to scrape the seeds from the pods
Pour the half-and-half into the pan with the vanilla and heat, stirring occasionally, until steaming hot, but not boiling. Remove from the heat and set aside.
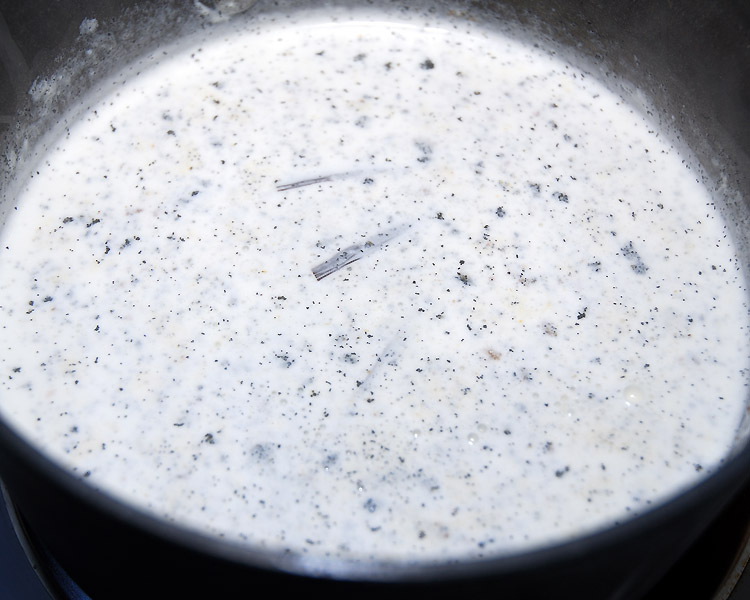
Heating the vanilla bean with the half-and-half will help to extract the most vanilla flavor
In a stand mixer fitted with a whisk attachment, whisk the egg yolks, on moderately low speed (speed 2 for a Kitchenaid) until light and creamy. While continuing to whisk, slowly add the vanilla sugar to the eggs, and whisk until the mixture is pale and thickened (also known as the ribbon stage).
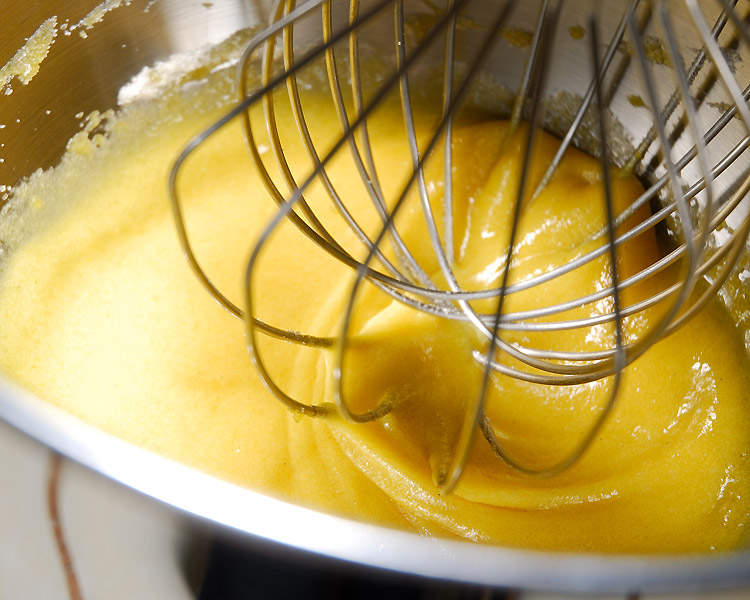
Whisk the egg yolks first, adding the sugar slowly to ensure it is incorporated evenly
Strain the vanilla bean pods from the half-and-half, and set them aside.
While continuing to whisk, slowly add the warm half-and-half to the egg mixture to temper the eggs. Slowly pouring the half-and-half down the inside of the bowl will prevent shocking and curdling the eggs.
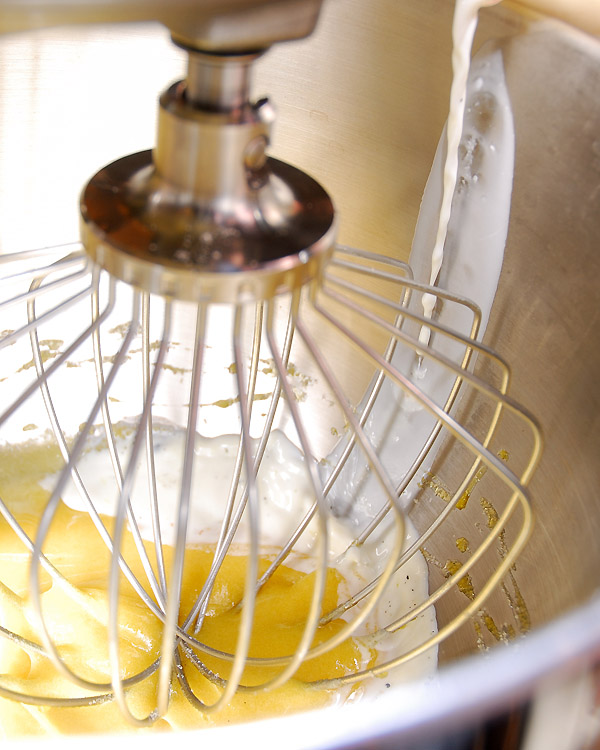
Do not rush adding the half-and-half, to avoid scrambling the egg
Once the half-and-half is thoroughly incorporated, return the entire mixture to the saucepan.
Cook the custard over low heat until the mixture reaches 170F. Do not rush this step, or the texture of the custard will not be all it could be. If you don’t have a thermometer, the custard is done when it is nappe, or coats the back of a spoon.
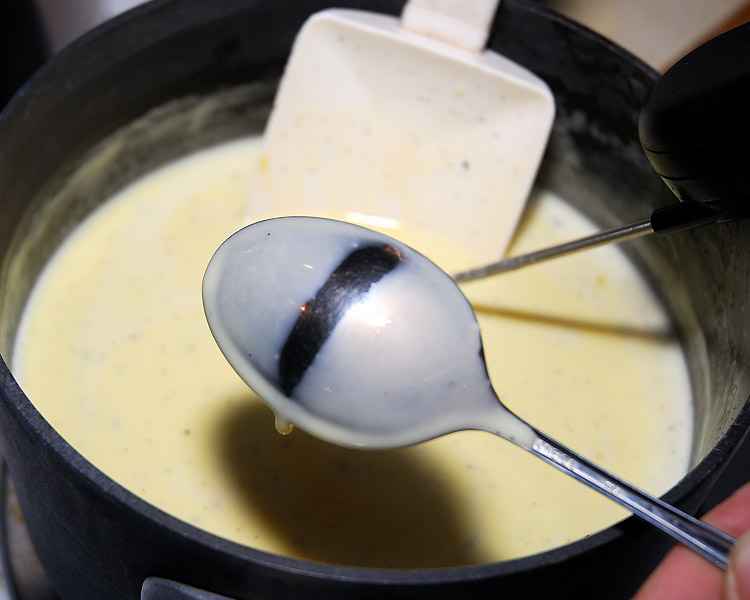
Run your finger across the back of a custard-coated spoon. The line from your finger should remain visible, and not disappear
Transfer the custard mixture to a large bowl, and add the whipping cream and salt. Cover securely, and chill in the refrigerator for at least 8 hours. Don’t rush the chilling stage. If the mixture is not thoroughly chilled before churning, the texture of the finished ice cream will not be as smooth.
Do not panic if at this point you’ve prematurely stolen a taste of the custard and it seems too sweet. Once churned and frozen the level of sweetness will subside considerably.
To Churn the Ice Cream
Remove the churn bowl from the freezer, and fit the dasher assembly, if required.
Assemble the frozen churn bowl and blade
Start the churn on the lowest speed, and then using a batter bowl with a spout, or a large measuring jug, pour the chilled custard mixture into the freeze bowl. Churn for 15-20 minutes at lowest speed.
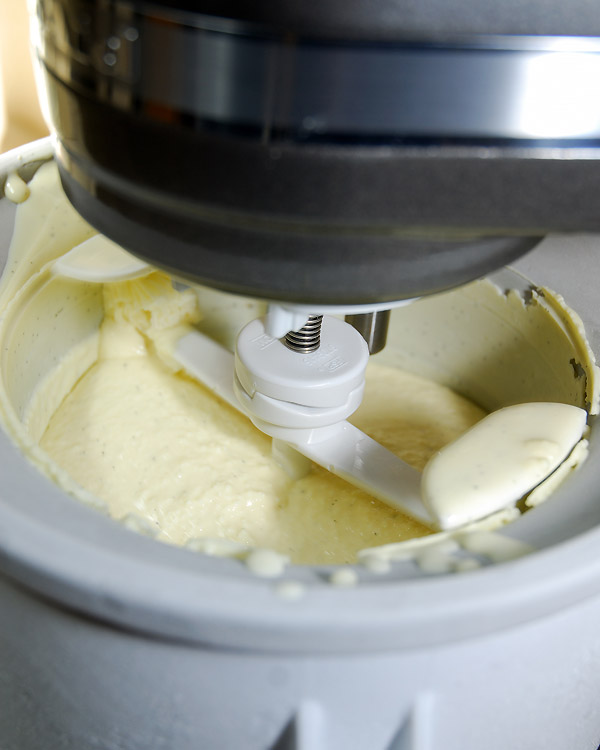
The ice cream will quickly begin to take shape
Note the mixture will significantly increase in volume as air is incorporated into the custard during churning.
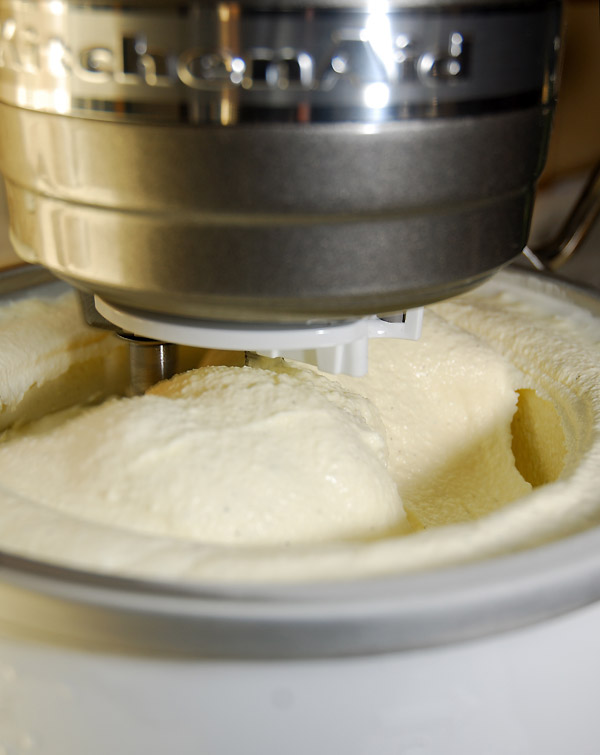
As air is incorporated during churning the volume of ice cream will increase
If using the optional fresh fruit, add to the mixture during the last 2-3 minutes of churning.
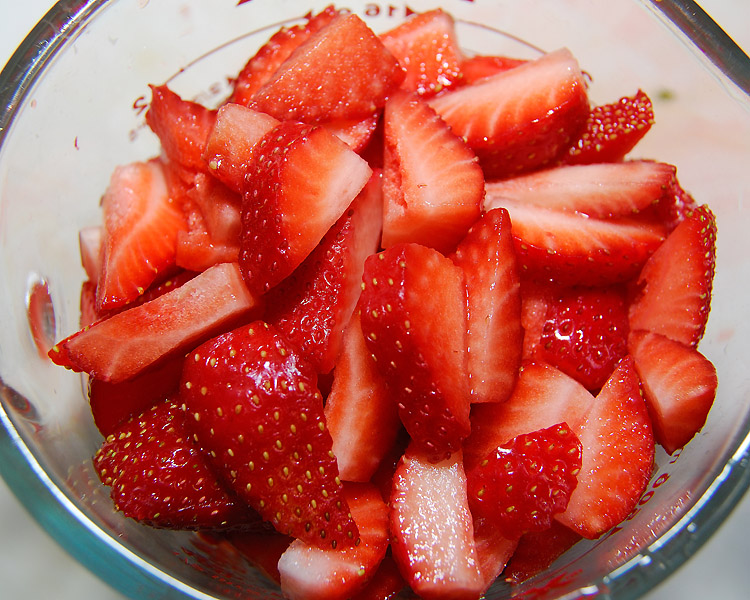
Addition of fruit, like these fresh chopped strawberries, should be during the last phase of churning
At the completion of churning the ice cream can be served soft-serve style, or ripened by freezing for 6-8 hours.

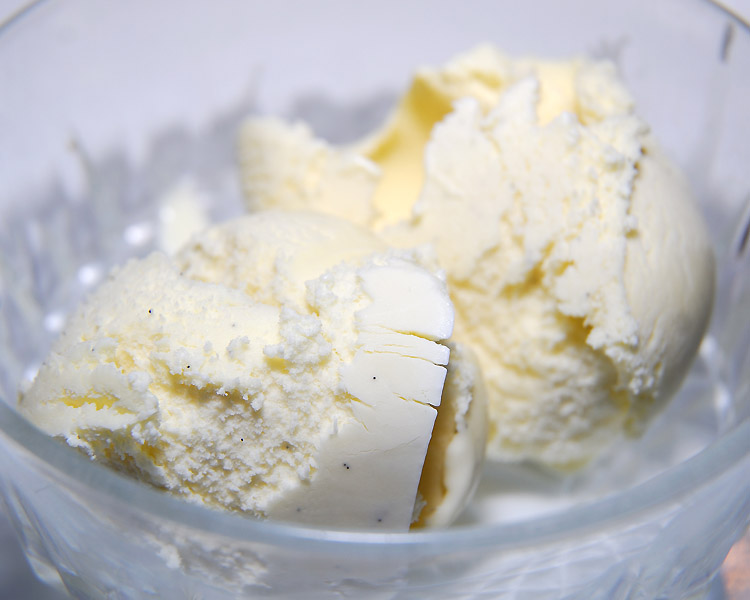
The texture is phenomenal when served as soft-serve ice cream
If sharing is not an option, and an agreement cannot be reached as to who gets to lick the dasher, I recommend thumb-wrestling for it.
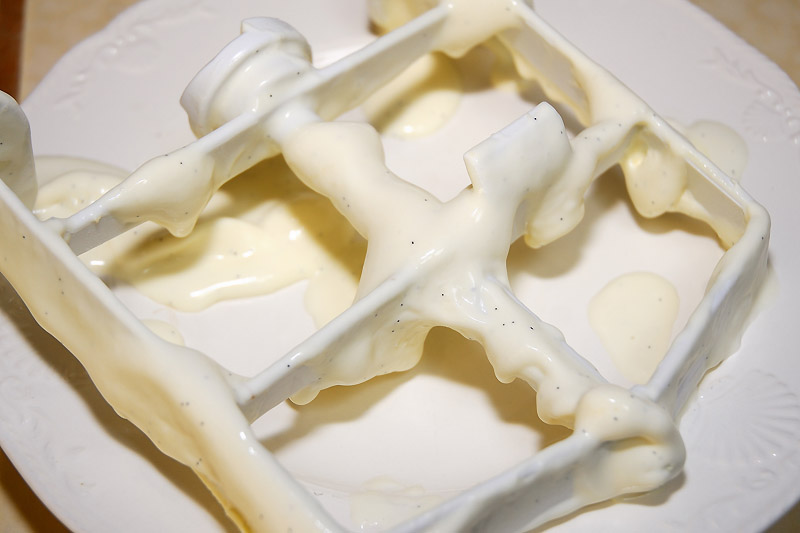
It’s impossible to scrape all this off with a spatula…honest!
To freeze, transfer the ice cream to an airtight container, or individual ice cream containers, and freeze in the coldest part of your freezer.
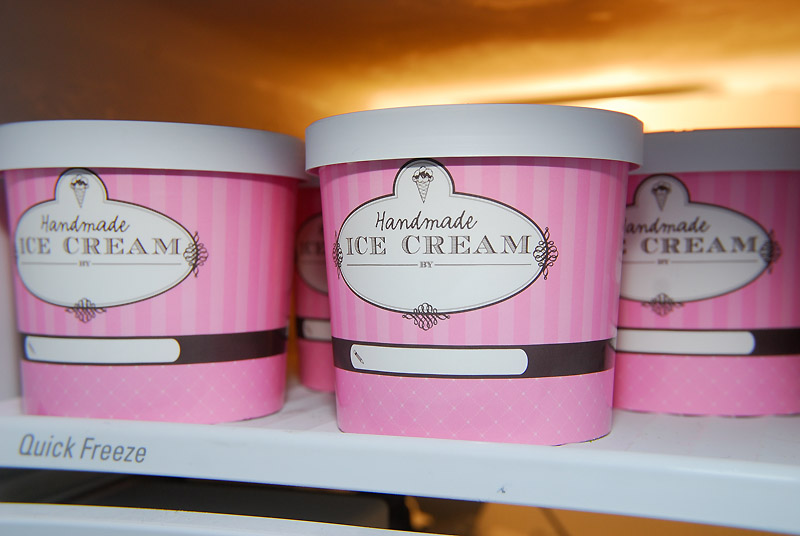
I wonder how long this will last?
The ice cream can be kept frozen for up to 3 months, but seriously, when is homemade ice cream going to last that long!?
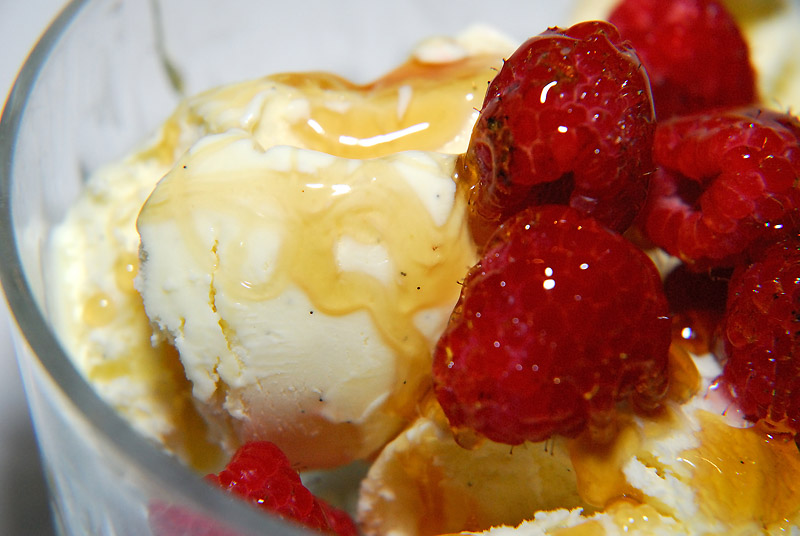
Homemade French vanilla ice cream, with fresh raspberries, and honey from our own bees!
Serve alone, with your favorite fruit pie, or crisp, melting over a warm bread pudding, or simply served in a bowl with fresh fruit, drizzled with local honey.
Indulge, and enjoy!
——————-
*Any time you need to simply scrape vanilla beans (not cook them), the scraped pods can be added to a cup of sugar in an airtight container, and the vanilla will infuse the sugar. This way you’ll always have some vanilla sugar on hand. Leave the pods in the sugar for at least a week before using. If you don’t have vanilla sugar available for this recipe, you can use regular granulated sugar, and add 2 teaspoons of pure vanilla extract at the time you add the cream and salt to the custard base.


I love ice cream – and what a great recipe to make homemade yumminess! What is Half and Half? Do you need to have a churner?
Good question Barbie. Half-and-half is an American convention. It’s simply one-half cream and one-half whole (not skim) milk, but here it’s sold in ready-to-go cartons. Many use it as a creamer for coffee. You can easily make your own though.
You would need a churner of some sort. There are the old style manual hand-crank churners, essentially a bucket with paddles inside, that’s immersed in an outer bucket filled with ice and salt.
The more modern churners usually have a bowl that has a liquid in between the double walls of the bowl, and this liquid freezes when the bowl is left in the freezer overnight. Regardless, the principle is the same. The ice cream forms because the custard freezes to the outer edge of the bowl, and is scraped down by the dasher, until eventually most all of the custard has frozen.
Churning also incorporates air. If you were to take a 1 gallon carton of ice cream, and leave it on the counter until it had all melted, you’d notice the volume is less than you started with. That difference was air that had been incorporated into the custard during churning, and it gives the ice cream a lighter texture and mouth-feel.
In a pinch you can also use ziplock bags to make ice cream. I have done it but can’t remember exactly how. This looks delicious.
This sounds fabulous. I cant wait to use my homemade vanilla and give it a try.
How timely! You posted a vanilla post too! I agree, real vanilla, none of those faux vanilla flavorings. Did you make vanilla sugar too with some of the pods?
Claire, I didnt make vanilla sugar yet. My homemade vanilla is just coming around ready to use. But it certainly sounds delicious.
A little disappointed that no honey was incorporated into this somehow. 🙂
We considered lacing honey through the ice cream, and we may when we make a future batch, but drizzled over the finished ice cream was just as good 😛
Oh, this is so mouthwatering!!!
I have an old southern family recipe for boiled custard which is very similar to an ice cream base but is cooked only to a certain thickness to make a holiday beverage. It goes in the refrigerator to cool and thicken even more (enough to float a maraschino cherry–yuck, I don’t do that anymore)and a topping a whipped cream. Some of my relatives would sneak some bourbon in there at some point.
Oh, that sounds almost like a traditional eggnog, especially by the time you add bourbon!
The photo of the apple tart, as well as the finished ice cream, reminded me of one of the best treats of the season! You are right, nothing beats homemade.Two of my boys developed diabetes in early childhood, and we quickly learned that ‘sugar free’ often means more fat and artificial chemicals. Homemade is always best, as you say, in moderation!
I used to ‘diet’ years ago, have gone through phases of low-fat this, and low-carb that, no-salt the other. I am now a firm believer that any diet that restricts a specific element is not particularly healthy, and I was often sick with colds when I’d do that to myself. Now I firmly believe in fresh, wholesome, seasonal, and natural ingredients, avoiding processed foods, and that eating that way, anything is fine in moderation. We also rarely eat out in restaurants. I just think that for many the concept of what moderation is has fallen by the wayside. I’d rather be able to have a few spoonfuls of something like this, on rare occasion, than never be able to eat it at all 😉
I agree with your observation 100%
The more homemade, home grown foods we can consume, the healthier we will be.
Oh, my gosh! I am on a diet – and am sooooo hungry – and now you tempt me with this scrumptious looking ice cream! I may have to go off the diet for a day or two! 🙂 That apple tart looks like a work of art!
I love that apple tart, I may have to post that recipe before the holidays. It’s not as difficult as it looks, although it does require a little patience to arrange all those apple slices 😉 I’ll have to make one soon to go with this ice cream!
You know, I never liked homemade ice cream–isn’t that weird? Honestly, I think it was too runny. We used to make it at my aunt’s farm, and we kids would spend hours cranking the ice cream maker to each get a little plop of not very good, melty ice cream. Now, though, after reading your recipe–I’m ready to go out this minute and buy a churn! I still would probably spend the extra time popping the ice cream in the freezer, only because I still don’t care for loose ice cream. But I wish I had a big scoop of your ice cream right now! I think the kids and I will put some of our girls’ eggs to good use this weekend. Thank you so much for the excellent, inspiring post!
There is a remarkable difference in texture between just churned ice cream, and leaving it to ripen (and harden) in the freezer for 8 hours, even with this recipe. If you don’t like soft serve, just churned ice cream, I think you’ll really like this once it’s been thoroughly frozen. What struck me the first time we made this was that it’s actually quite slow to melt compared to many purchased products that have an excess of air, and lack of quality ingredients in them. However, if you’re a person that loves that half-melted ice cream texture, soft serve would definitely hit the spot! If you make it, let us know how you like it!
Hey I really enjoyed the post. Now I just have a few questions. Does it taste anything like Hagen Dazs? Where can I get some of those ice cream containers?
Honestly, I haven’t had Hagen Dazs in years, so I couldn’t say for sure. However, I do think it’s as good as almost any premium ice cream I’ve had.
I picked up a few of those containers at a local market, but I don’t see them available online. However, I have found some similar ones on Etsy. Just look for 16oz ice cream containers. I mostly just use some of our smaller plastic freezer-safe containers though, as they’re reusable.
Clare I think I must visit sometime when I retire…my brother lives in Ventura Co and I hope to visit CA for an extended period visiting the areas N of him. To have your own apples and make your own apple tart is just making me drool here…that homemade ice cream would not last long in this house…oh my!
Donna, if you’re ever down this way, let us know. We’d love to have you stop by!
We’re looking forward to more apples. Our trees are still very young, so they’re not producing much, yet. I can’t wait until I have the problem of overabundance though. I really want to make to make my own pectin!
Oh my goodness, french vanilla is my all time favourite. and nothing beats it on warm apple pie. I have the urge to pull a pie out of the freezer now. By the way, I tried your zucchini fritter recipe recently (we are still overwhelmed with those darn things despite the cooling weather). It was wonderful, thanks for sharing. Now I know another way to use up all that dill too!
Sometimes I get scoffed at because I don’t go goo-goo for chocolate, or some bizarre everything-in-it ice cream like Rocky Road. I like vanilla. Even with nothing on it. At a minimum, honey and fresh fruit makes a perfectly fine dessert, but I love that vanilla is so versatile. So glad you liked the fritters. After looking at our squash patch this morning, I need to figure out a way to make these part way and freeze them!
As I read this post, my mouth was watering…and watering…and watering. I have never tried making homemade ice cream, but this sounds like an easy and tasty recipe, Clare. Yummy!
I make a lot of foods from scratch, even time intensive ones, like bread, but it took a while before I plunged into making ice cream. There are so many options on the market now for churns, that really almost anyone can make it at home. It’s not fast, but if you turn it into a fun family project, where you get to eat the rewards, I see no reason not to make your own. Not to mention, you can create your own flavors, that aren’t available in the ice cream aisle. I’m actually looking forward to making a pear-ginger sorbet next…