To celebrate the start of spring, last weekend we were invited by Lisa and Robb to attend their 2011 Egg-Stravaganza. The purpose of the event was to spend a crafty afternoon learning the art of Pysanky.
A Pysanka is a traditionally decorated Ukranian Easter egg. The eggs are decorated using a wax-resist (batik) method. Patterns are scribed onto the eggs using melted beeswax with a stylus tool called a kistka.
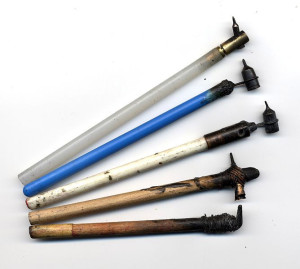
An assortment of traditional and modern Kistas used for decorating eggs with wax (Image Source: Luba Petrusha - Wikipedia)
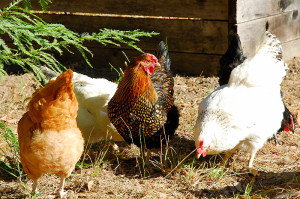
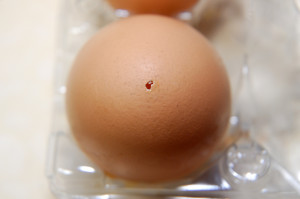
We began on Sunday by blowing out some eggs from our hens.
Easier said than done with a very fresh egg. Although we could have left the eggs whole, by removing the contents of the egg, they can later be fitted with string and hung as ornaments.
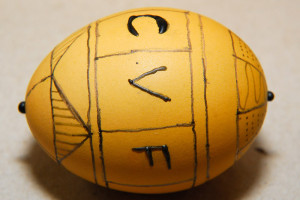
The eggs are dipped in various colors of dye throughout the design process. Anywhere the wax is applied prior to dipping in dye, the egg will resist absorbing the dye. By alternating wax and dye layers, intricate and colorful designs can be created.
When we arrived, Lisa taught us the basics of the Pysanky egg-dying method. We primarily focused on the mechanics, rather than traditional designs this time, and had a lot of fun simply being creative with the wax and dye.
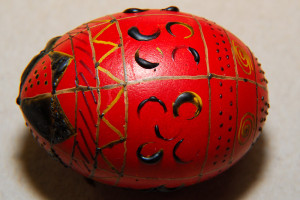
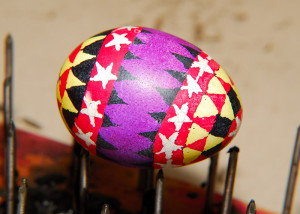
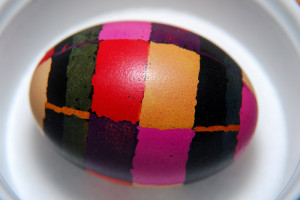
Despite being somewhat artistically challenged, we had a ton of fun, and were quite proud of how our eggs turned out at the end of day.
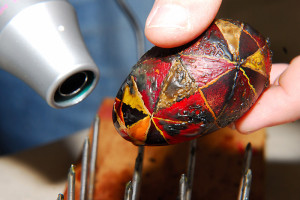
After the last dye step, a heat gun was used to melt the wax off of the egg, and the egg is then buffed with a paper towel
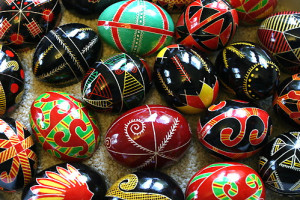
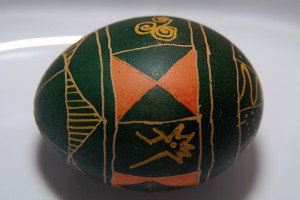
We now have an entirely new appreciation for what it would take to produce some of the more intricately patterned eggs such as these.
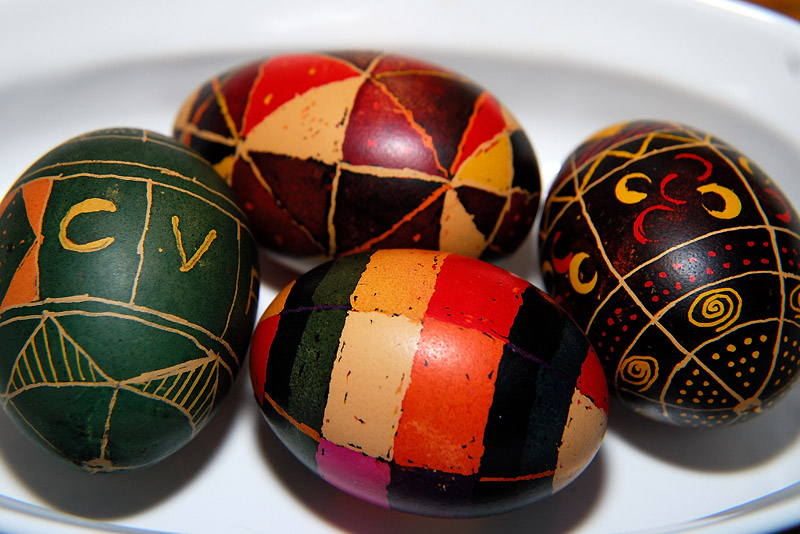
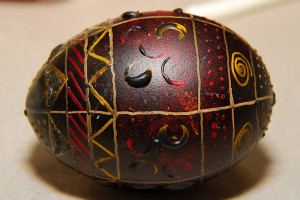
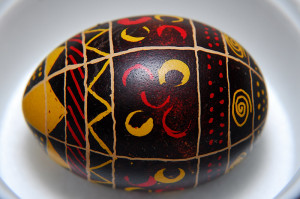
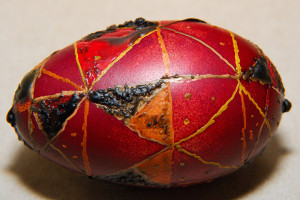
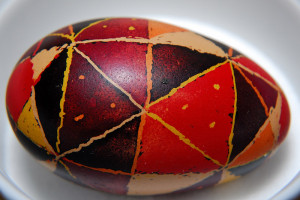
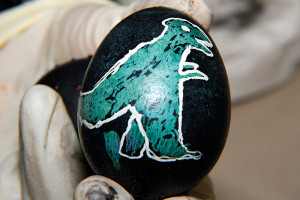
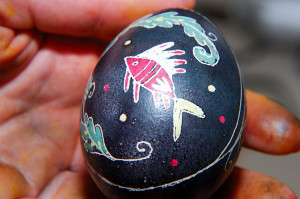
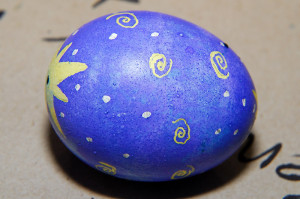
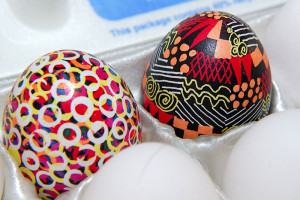
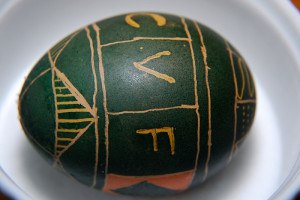
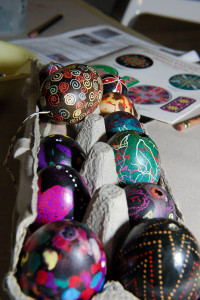
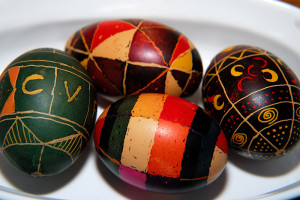
Everyone had a great time being creative. Unfortunately, we were so absorbed decorating our own eggs, we kept forgetting to take pictures, but here are some egg-samples of some of the other egg-quisitely decorated eggs that were created by others attending Lisa’s Egg-Stravaganza on Sunday. We think they’re all egg-cellent!
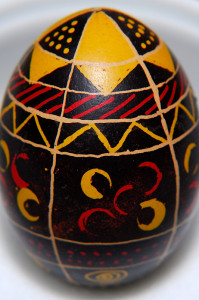
Possibilities were only limited by one’s own imagination, but for those short on ideas, Lisa also had a lovely collection of inspiration eggs on hand in various colors and patterns.
Unfortunately, the time went by too quickly, but we can’t wait for the next Egg-Stravaganza so we can try our hand at this again. We can honestly say that an egg-cellent time was had by all!
Thanks for inviting us Lisa!
—————–
If you’re interested in creating your own Pysanky eggs, some craft stores, and numerous online retailers, have supplies and kits available.
For more information about Pysanky:
Instructions for creating Pysanky by Jennifer Minnis
Pysanka Museum – Ukraine





I’m so glad you came! I still haven’t found time to post my own photos…
Such a neat technique! I’ll have to send my wife over here to have a look. She is doing some glue-resist dying of fabric this week, and I bet she will be egg-cited to see these works of art!
Fun! I love the chicken! I’m curious though- I’ve always blown out the eggs after dying them because they tend to float if emptied. Wish I could have joined you guys and learned Lisa’s techniques!
I loved this creative post. For me, getting the egg empty would be hard part number one, then making sure I did not break it would be a close second. Your eggs came out really nice, even the one with the chicken. It looked primitive and I liked this about it. The other eggs were nicely done too. Your harlequin egg was really pretty.
OH, bringing back childhood memories! My Mom (man, she really was one of the goodies) did this with my friends and I when we were kids. I’d forgotten all about it.
Of course, ours weren’t quite so pretty. This is so cool I’m going to have to save this up as something to do with my kids one day.
I usually don’t leave a second comment or pick twice, but I really liked this post.
How beautiful! Makes me feel all crafty: fingers itching to create.
I thought of you as we drove up from SoCal to NorCal… in a deluge. Trip to the desert rained out.
Hope all is well,
Alice
Hi CV,
Lovely eggs, they look so colourful and interesting to make!
Mmmm getting the urge to get all crafty now 🙂
Beautiful! A Czech friend of mine makes these at Easter time, but in her family they fill them with confetti and then break them over each other’s heads for luck.
This looks like fun, but maybe it would take practice to make nice clean lines and designs on the curvy eggs.
Wow – those eggs are absolutely gorgeous! How long do they keep for? Will they rot inside?
When we were kids we used to paint hard boiled eggs at Easter and roll them down the hill. Not sure if we ate them afterwards or not!
Those are brilliant! Thank you for sharing this and the photographs! We will have to try that.
I just got my pictures posted. I just love how nicely everyone’s eggs turned out.
http://howsrobb.blogspot.com/2011/03/so-what-about-those-eggs.html
Wow, that looks like so much fun! When I was a kid, my mother and father always blew out eggs for us to decorate with crayons and colored pencils. It was great fun, and the best eggs were treasured and kept for a long time.
Now this looks like great fun! So impressed with all but who did the fish egg? Was this a judging contest ? This makes our simple creatively dyed/enhanced Easter egg contest pretty pitiful 🙂
Your eggs turned out great! Pretty neat that you used eggs from your own chickens too. I didn’t realized that wax was used in creating the designs, looks like a lot of fun.
what a fabulous craft to learn…I had Ukrainian students when I was teaching in the late 80s who made me these beautiful eggs…so lovely and such a cherished gift…
How fun… what a great party.
Eggcellent!!! I love these eggs…yours is awesome, along with the others…what a great activity to use your own eggs with!!! Your girls look very healthy and beautiful!
Amazingly artistic eggs – really puts my rudimentary egg dipped in food coloring routine during Easter to shame. And as a folk art aficionado, I’d so much rather one of your creations than a Faberge any day!
I have heard of this process but had no idea how it was done. I think your eggs turned out fantastic! I can see that a batch of these would make an Easter egg hunt a real event! But like you, I think I would want to blow them out so I could hang them up for awhile.
Amazing! Such talent, I would love to be able to make these.
Those are fabulous. I especially love the stars and nebulas.