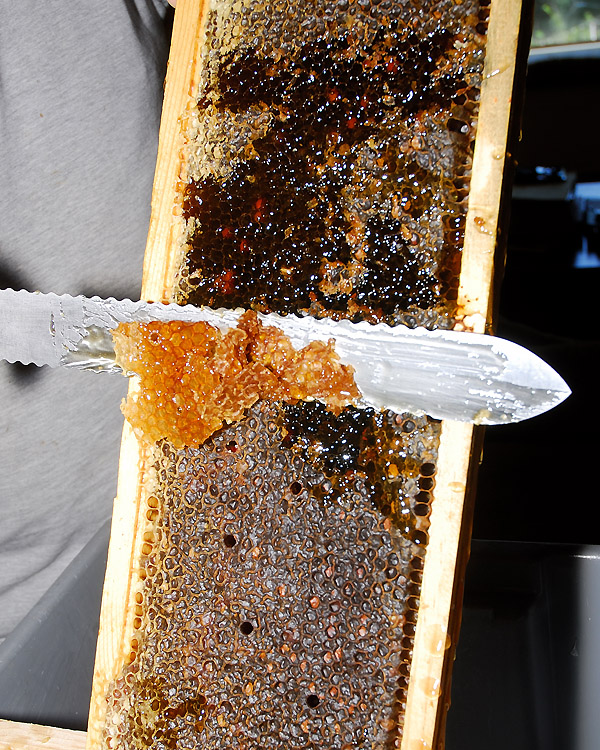
One of the byproducts of harvesting honey is beeswax. A couple of weeks ago we took the last of our honey for the season from our hives. Although most of the frames will be reused for another year, a couple of frames were damaged during the extraction, and we also finished the honey harvest with a large bowl full of capping wax.
There’s not a lot of wax in the cappings, but the wax does add up over the course of a sizable honey harvest. The question was, what to do with the wax?
Obviously at some point we’d like to make candles, lotions, or soaps, but first the wax has to be rendered, and the impurities removed.
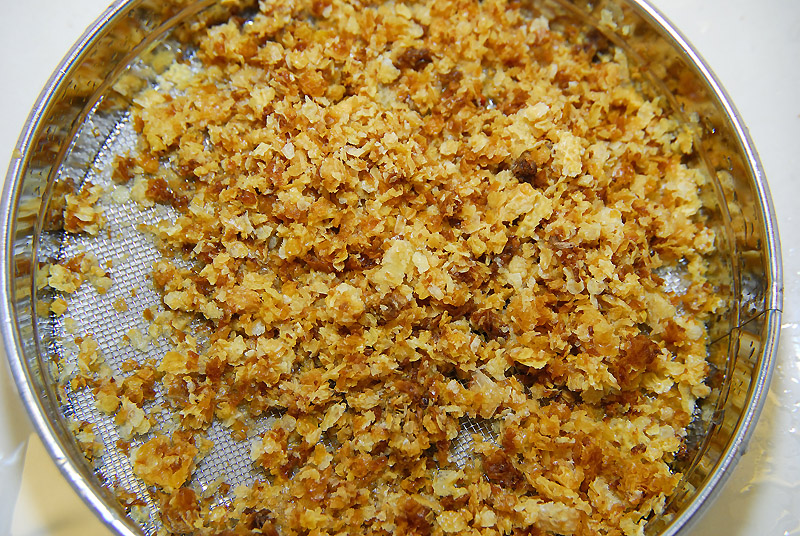
When the cappings are first cut from the frame, the primary contaminant is honey. The cappings were first drained in a strainer overnight to remove the excess honey. Once drained, using a fine sieve, the capping wax was then rinsed in a few changes of cool water.
There can be quite a bit of honey on the capping wax, so we let it drain overnight
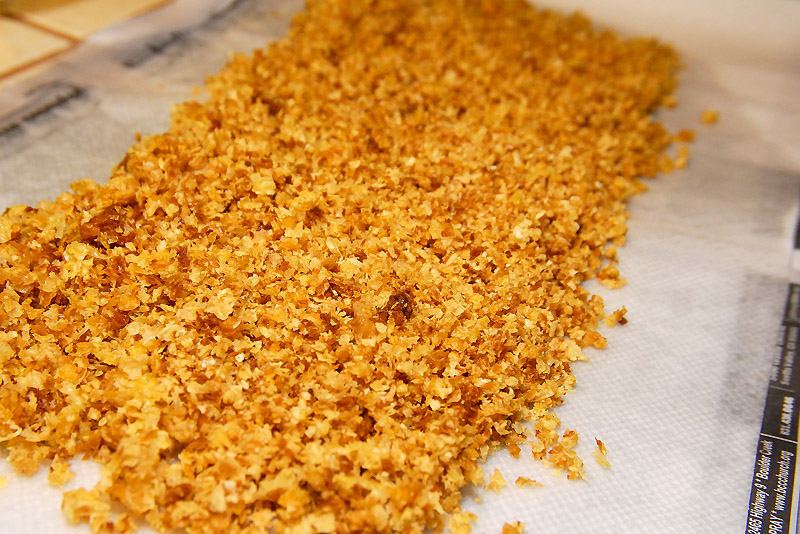
Once any excess honey residue was removed, the wax was laid out on the counter, on some paper towel over a few sheets of newspaper, and allowed to dry for 48 hours.
With the wax dry, now it was time to melt it. We could have melted it on the stove, but it honestly didn’t seem worth messing up a pot for, and I don’t yet have a vessel that I can devote to the task.
As the temperatures had recently been soaring into the low 90s in the garden though, it seemed like perfect weather to try using a solar wax melter.
I poked around a little online, and found a number of ready-made solar wax melters, but they’re not cheap. I also found various DIY plans for solar wax melters, but I wasn’t sure I wanted to be tripping over one in the workshop during the 360 days a year that I’m not using it.
The trouble was, I was too lazy busy to build one, and too cheap impatient to order one. That left me with the option of cobbling one together myself.
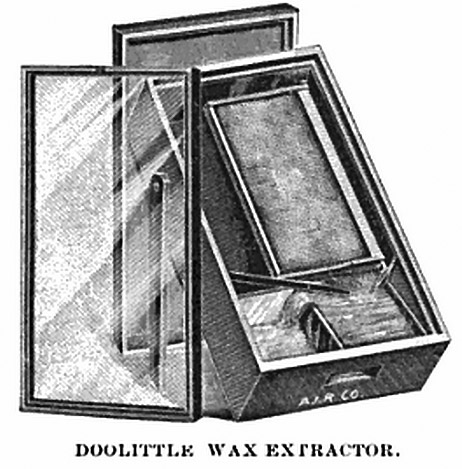
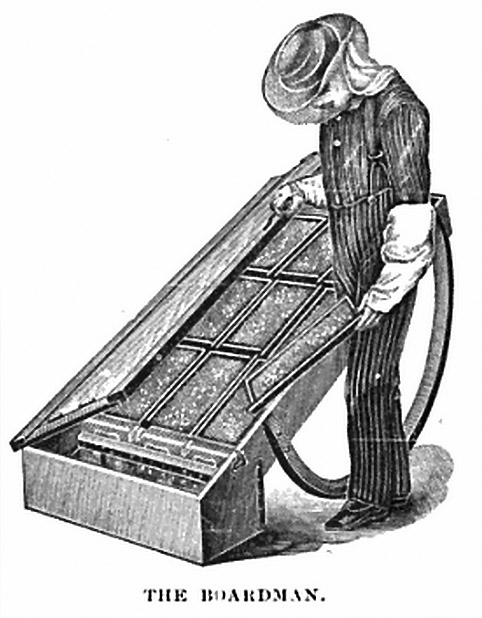
Solar wax melters aren’t a modern invention. In fact I found references to solar wax melters dating back at least to the early 1900s.[1,2].
There are also various sources online for what is known in beekeeping circles as ‘Paul’s Solar Wax Melter’. The construction seemed straightforward enough, so I scrounged around for some suitable components, and set about making one. All I needed was:
- Styrofoam Cooler
- Aluminum Foil
- Paper Towel
- Rubber Bands
- Water
- Sheet of glass or Plexiglas
I didn’t have a styrofoam cooler, and quite honestly, providing the container is insulated, I didn’t think I really needed one. Instead, we have a few coolers around in various shapes and sizes, so I opted to use one of those.
The instructions for some versions of this homemade wax melter suggest painting the cooler exterior black, but that’s really not necessary in this case as the walls of this plastic cooler were heavily insulated.
Aluminum foil of course was easy to source from the kitchen, as was the paper towel.
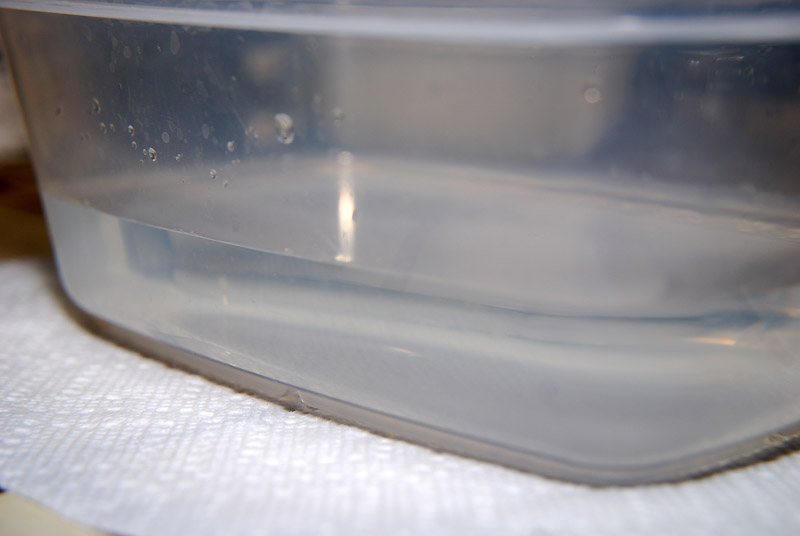
Next I needed a container to catch the melted wax in, and a long-since-lidless plastic container fit that bill perfectly.
My greatest challenge was finding a large enough rubber band to fit around the rim of the container, as most of our rubber band supply went to our apple-grafting project.
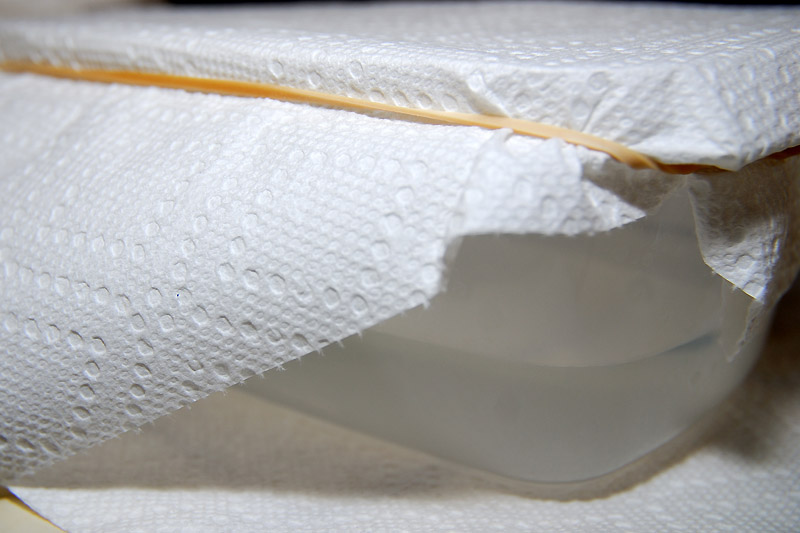
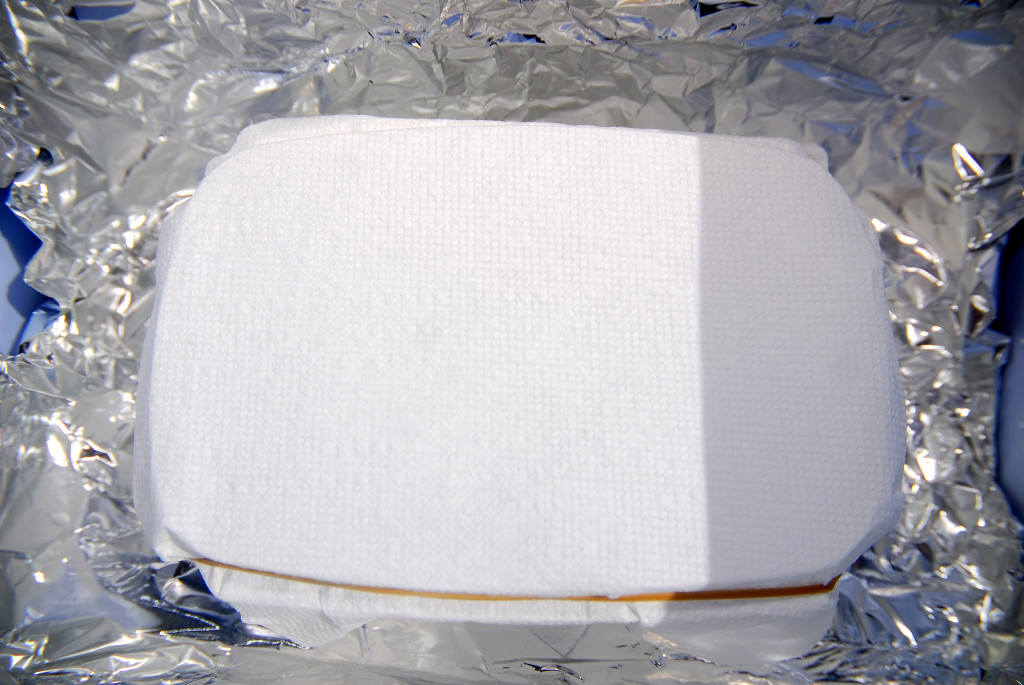
The plastic container was filled with about an inch of water, and the paper towel was set over the top of the container, and secured with the rubber band.
Finally I needed a piece of glass that would be big enough to cover the top of the cooler. Eventually I scavenged a 16″x20″ piece of ‘low-glare’ slightly frosted glass from an old photo that was gathering dust in the back of a closet. Even though the glass was textured, I expected it would work fine.
To assemble the wax melter, the foil was used to line the bottom of the cooler to reflect heat, then the container with the water was set in the bottom of the cooler.
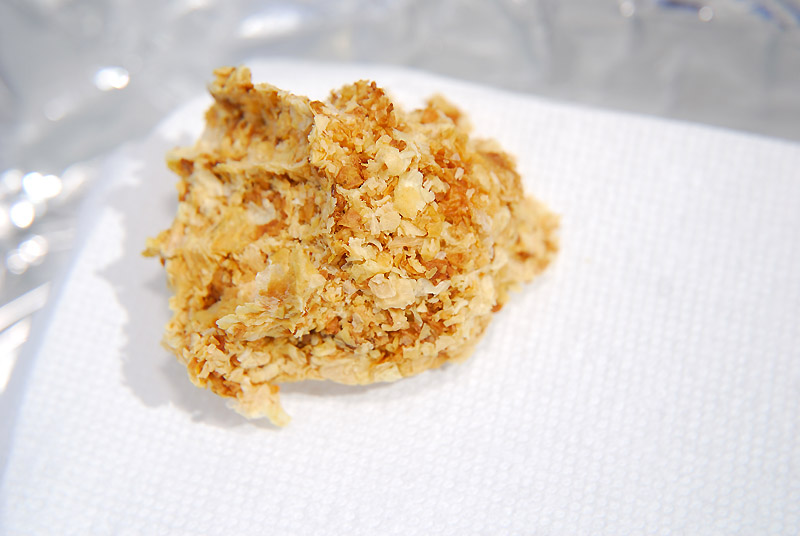
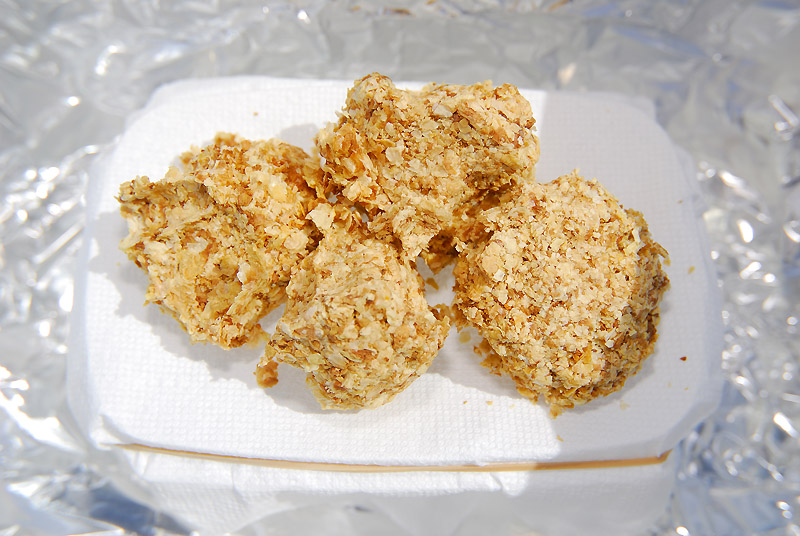
The clean, and dry, wax pieces were squashed into a loose ball, just enough to hold their shape, and each ball of wax was set on top of the paper towel.
The final step was to place the sheet of glass on top of the cooler, and find the sunniest spot in the garden.

Note, if you use this method, and your cooler has a hinged lid like ours did, you may need to place a kitchen towel over the gap in the glass next to the hinge, otherwise every bee in the neighborhood will try to fly into your melter to see where that aroma of beeswax is coming from. Yes, that is the voice of experience!
As the weather was really warm the day I did this, all the wax was melted within a couple of hours, while I was off getting other things done.
When I came back all I could see was dark slumgum adhered to the paper towel. Slumgum is a term for the impurities and debris left behind when the wax is rendered, which as you can see had formed a dark brown crust on the surface of the paper towel.
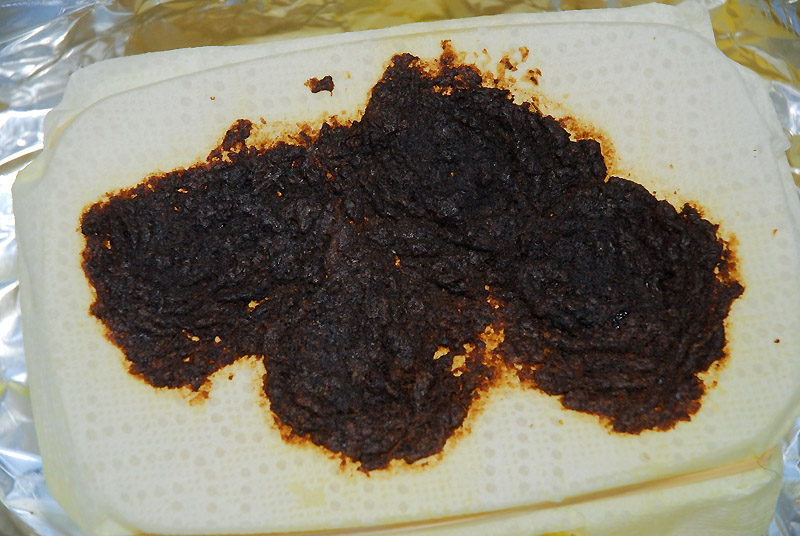
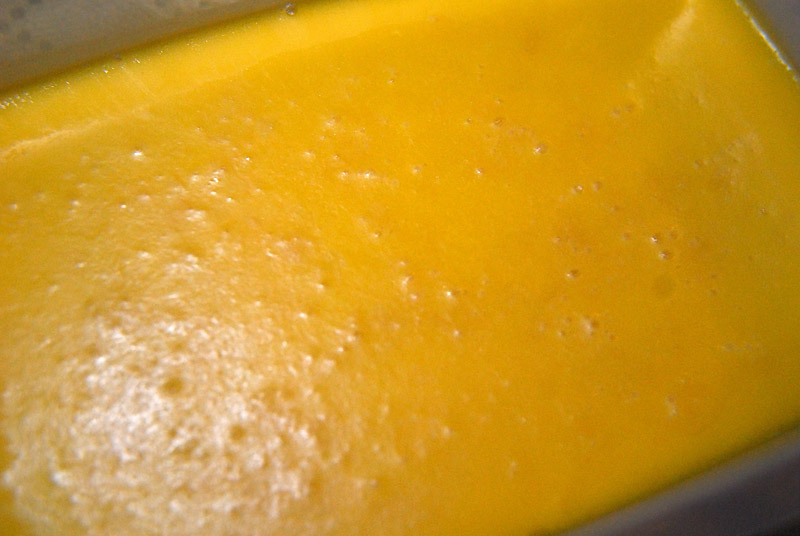
All the wax had melted, and been filtered through the sheet of paper towel, down into the water below. The trouble was, at that point, it was still so hot under the glass that the wax wasn’t set. It just looked like an oily layer floating on the surface of the water.
Leaving the wax to set, after the sun had gone behind the trees, I went back out and found the wax had set up enough that I could bring the container inside.
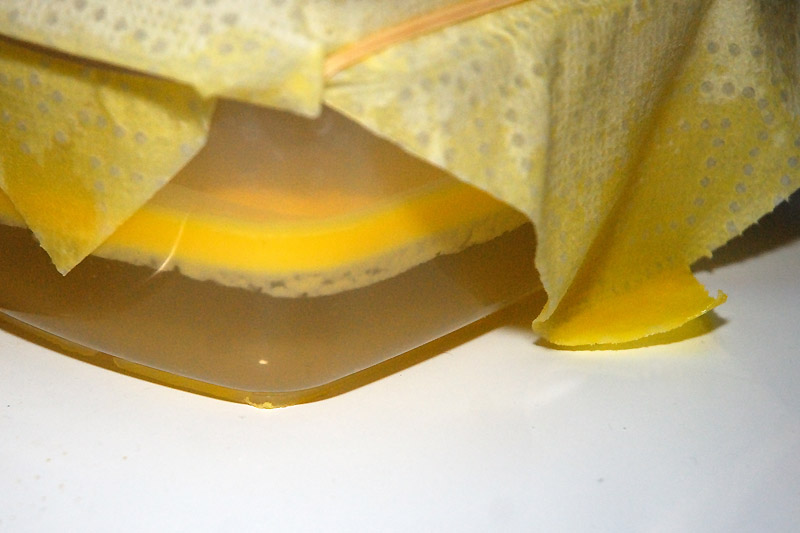
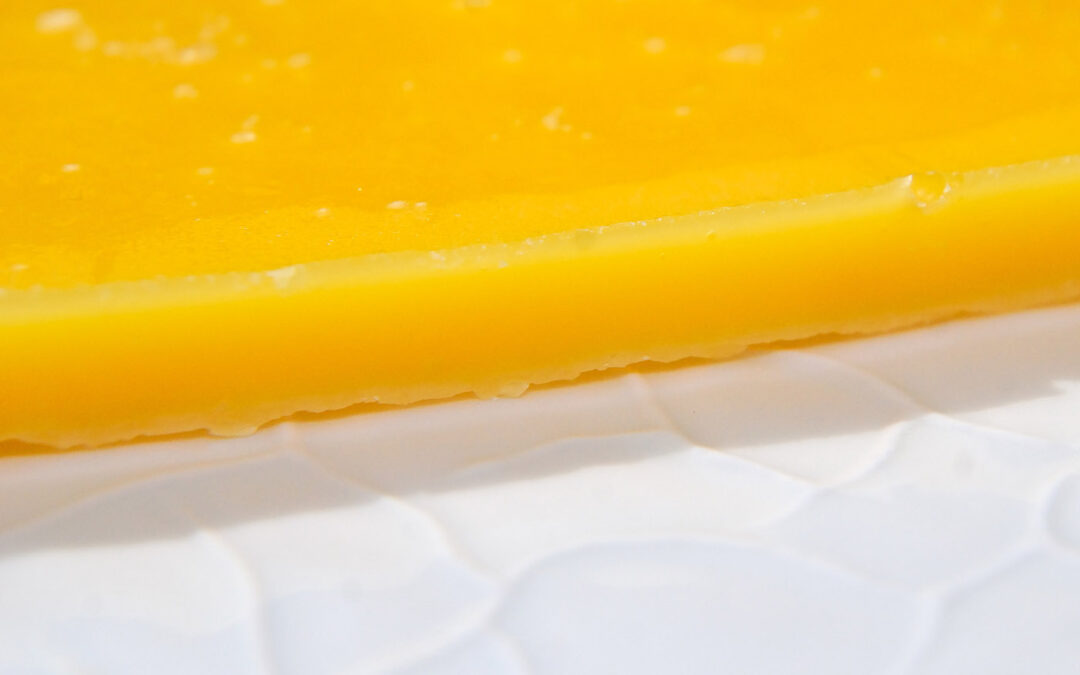
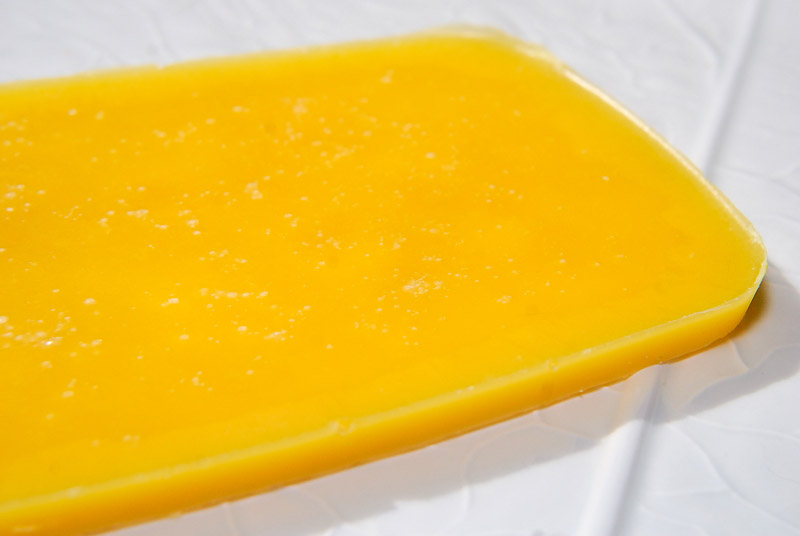
Gently stretching the sides of the container outward, the wax layer popped free, and the water prevented the wax from sticking to the container floor.
The color of this capping wax is gorgeous, beautifully filtered, and smells divine!
Next time I’ll be sure to trim the overhanging paper towel. As it was a little too long on one side, a little of the wax wicked through the towel, and down on to the foil at the bottom of the cooler.
I’ll definitely use this method again as I still have a few frames of wax to process. I just need the weather to warm back up as it’s been a bit cool the last couple of days.
However, I have read that this method works less well for old dark brood nest wax that contains more debris. For relatively clean wax, from honey frames, or cappings, it seems to work very well.
Maybe down the road if we have a lot more wax to process I’ll build a melter that’s better suited to large volumes of wax.


For small volumes though, this solar wax melter was efficient, and we won’t have to trip over a melter in the workshop, as all the component pieces have been returned to their original task…except the paper towel of course.
I saved that, as it’s now wax-soaked, and will no doubt be useful for starting the wood stove on a cold winter’s night.
————————
[1] Hamlyn-Harris, R. February 13, 1902. “Gleanings from Foreign Bee Journals” British Bee Journal & Bee-Keepers Adviser, Volume 30,pg. 69
[2] Root, Amos Ives, and Root, Ernest Rob. 1908. Solar Wax Melter. The ABC and XYZ of bee culture: a cyclopedia of everything pertaining to the care of the honey-bee. The A. I. Root Company. pg. 444
That wax is such a beautiful color. Clever you figuring out how to put together a make-shift melter. I love that you are going to be able to use everything, even the left-over crud on the paper towel.
It’s seems quite a few small-scale beekeepers process their wax similarly, and seeing how well it works, I see why!
Fascinating and useful as all of your bee posts are. I’m filing them away upstairs for retrieval someday… I hope. 🙂
Alan, I think you need bees. It really is a lot of fun, and unlike goats, they won’t eat your landscaping 😛
We made a solar melter much like yours to melt our wax. I was amazed by the dark slumgum that came out. The beeswax itself is beautiful though, like yours!
I didn’t realize you made one of these too. I was amazed there was so much slumgum just from the capping wax (I haven’t processed the whole frames yet). I do love that with this method the wax is melted, and filtered, all at the same time. BTW, I think slumgum is my new word-for-the-week…I wonder if it counts as a scrabble word? 😉
Very smart of you to make it yourself! And that wax looks absolutely beautiful! I never realized there was ‘slumgum’ – I learn a lot from you! And putting that on pine cones to use in the fireplace sounds like a great idea, too. It will give you a great sense of satisfaction to light your home some dark winter’s night with the beeswax from your own bees!
I’ll be curious to see how well the slumgum works as a fire starter, as the ones we purchased last year weren’t very good. I love that with bees, there’s basically no waste, and I’m so happy to have the aroma of fresh beeswax in the house too! There’s nothing like it! 🙂
I will probably never have bees of my own but I can’t help but devour your bee-keeping posts. This is fascinating stuff and it makes me wish I could convince my wife to let me get just one hive . . .
Well, if she won’t let you get you get a hive of your own, would she consider letting you host a hive? Or is she afraid/allergic? I’m always running into beekeepers that need to divide their hives, but are just looking for another property to keep it on. They maintain the hive, in return for hosting it on your property, at a minimum you get honey, and some even pay. It lets you be a sort of ‘hands-off’ beekeeper. Of course, it does depend on local ordinances, and understanding neighbors 😉
This was a fun post, but boy, a lot of work it seems to get the wax processed. I was expecting a candle at the end of the post, but about halfway through thought no way. I found it funny that the neighborhood bees would hunt down the wax. Why is that? What do they do with it, is it territory alerts, or is it the smell of the honey and the dinner bell is ringing?
I think the bees could smell the residual honey, and the wax. In the spring when we set out swarm trap hives, to catch passing feral swarms, we always use older honeycombs as lures. There’s something irresistible about the smell of wax, and honey to bees. I suppose it could be a potential food signal, or a potential home signal for a colony that is thinking of swarming. One of our swarms this spring seems to have repopulated our neighbor’s attic, and I suspect it was the existing combs that lured them in!
Clare,
Nice block of wax, I now have two blocks like that. The cappings I set out in the bee yard and let the bees clean the honey off it, amazing the job they did. I did the cooler thing and it was tough to get enough sun here to do it. So I took scrap plywood and made a nice melter, left over black paint made it get hot quickly too.
We’ve avoided letting the bees clean the wax out in the open because of robbing at the moment. We did return a few extracted frames to the hives so they could clean them from the inside though.
You’re probably processing more wax than us, as you’re running a top-bar hive. From a ‘making candles’ perspective, I actually wish we had a top bar now 😉 I expect, especially once we’re processing old brood frames, that I’ll need to build a more permanent melter. As those wooden boxes aren’t well insulated, I expect the black paint would make quite a lot of difference.
Clare,
Our top bar in only half full at this point, not an ounce of wax has been taken from it. I was in there this morning, they are slowly building comb still! Lots more bees than last inspection too!
You make me want to punt, move to Vermont, buy some dairy cows, goats and bees and live off the grid.
We love what we’re doing here, but if we could find 40 flat acres somewhere, we’d be tempted! Would love to have more bees and goats…not sure about the cows though 😉
This is so interesting! I love the idea of letting the sun do the work for you. What a satisfying feeling to know that you’ve harvested not only honey but beeswax. So much better than a boatload of junk from China.
That’s what I love about this set up. It takes all of a few minutes to put it together (once the wax is prepared), and then you just walk away and forget it. It takes care both of the melting, and the filtering, saving a step. Its only limitation is volume. If I was fortunate enough to have a lot more wax to process, I’d need something more robust, but for now this is fine. We will be rotating out frames in the hives next year, as current recommendations are to only reuse frames for 2-3 years to prevent bee disease from building up, so we should have quite a bit more wax for craft projects next year. 🙂
I love the bee posts. I learn so much from them. This one in particular. What a neat trick to get the wax cleaned. Slumgum looks nasty, but glad there is a use for it! So nothing gets discarded. How amazing our little bees are!
It is a neat trick! I can’t take credit of course as this method has been around a lot longer than me, but it does go to show that beekeepers, generally speaking, are a very resourceful lot!
When I thought there could be nothing cooler with raising bees I find that going through the whole process of melting the wax is just as fascinating…such hard work and I love that you use all the parts of the honey, hive, wax and residue…now when I see beeswax candles I will appreciate them even more.
I always used to balk at the price of beeswax candles, but honestly, as a beekeeper, I understand why they’re so expensive. Now I think they’re worth every penny!
How interesting! I loved seeing the whole process and you can use every part!
I love that there’s no waste. I love the efficiency, and sustainability aspects of beekeeping 🙂
Simple works! I admire your ingenuity, and I agree that your beeswax is beautiful. Again you have educated me about something I knew nothing of. I confess I did not realize that beeswax actually came to us from bees!
Beeswax really does come from bees! The bees consume honey, and use this energy to make wax. This wax is then secreted from their wax glands, through pores on their ventral abdomen. Sometimes you can see these as tiny transparent scales underneath the bees. The wax is then chewed by the bees, and used to make the wax comb, or to cap the honey in the hive. They really are remarkable creatures!
I love your homemade solar wax melter!